
My favorite parts of making art quilts are the design process, selecting the fabrics and constructing the quilt top.
My least favorite parts are the finishing – burying threads, applying facings, and attaching the hanging sleeve and label. By the time I get to the finishing stage, I’m eager to start on the next quilt project, so a quick and efficient method of finishing quilts is right up my alley.
Over the past few months, I’ve developed a variety of methods to speed up the finishing process.
1. Fuse the backing fabric after quilting is completed
Recently for my art quilts, I’ve been constructing them differently than more traditional quilts. Instead of quilting through all the layers, I’ve been doing all the quilting before adding the backing fabric. (Note: do not use this method if you are planning to submit your quilt to a show that requires the quilting stitches to be visible on the back. Many juried shows no longer have this requirement for art quilts, but still do for traditional and modern quilts.)
This technique allows me to easily add additional quilting at any time, without any concern of how messy it might look on the back. It also eliminates the need to bury all of the thread ends. When I’m finished quilting, I fuse the backing fabric in place, catching all the thread ends.
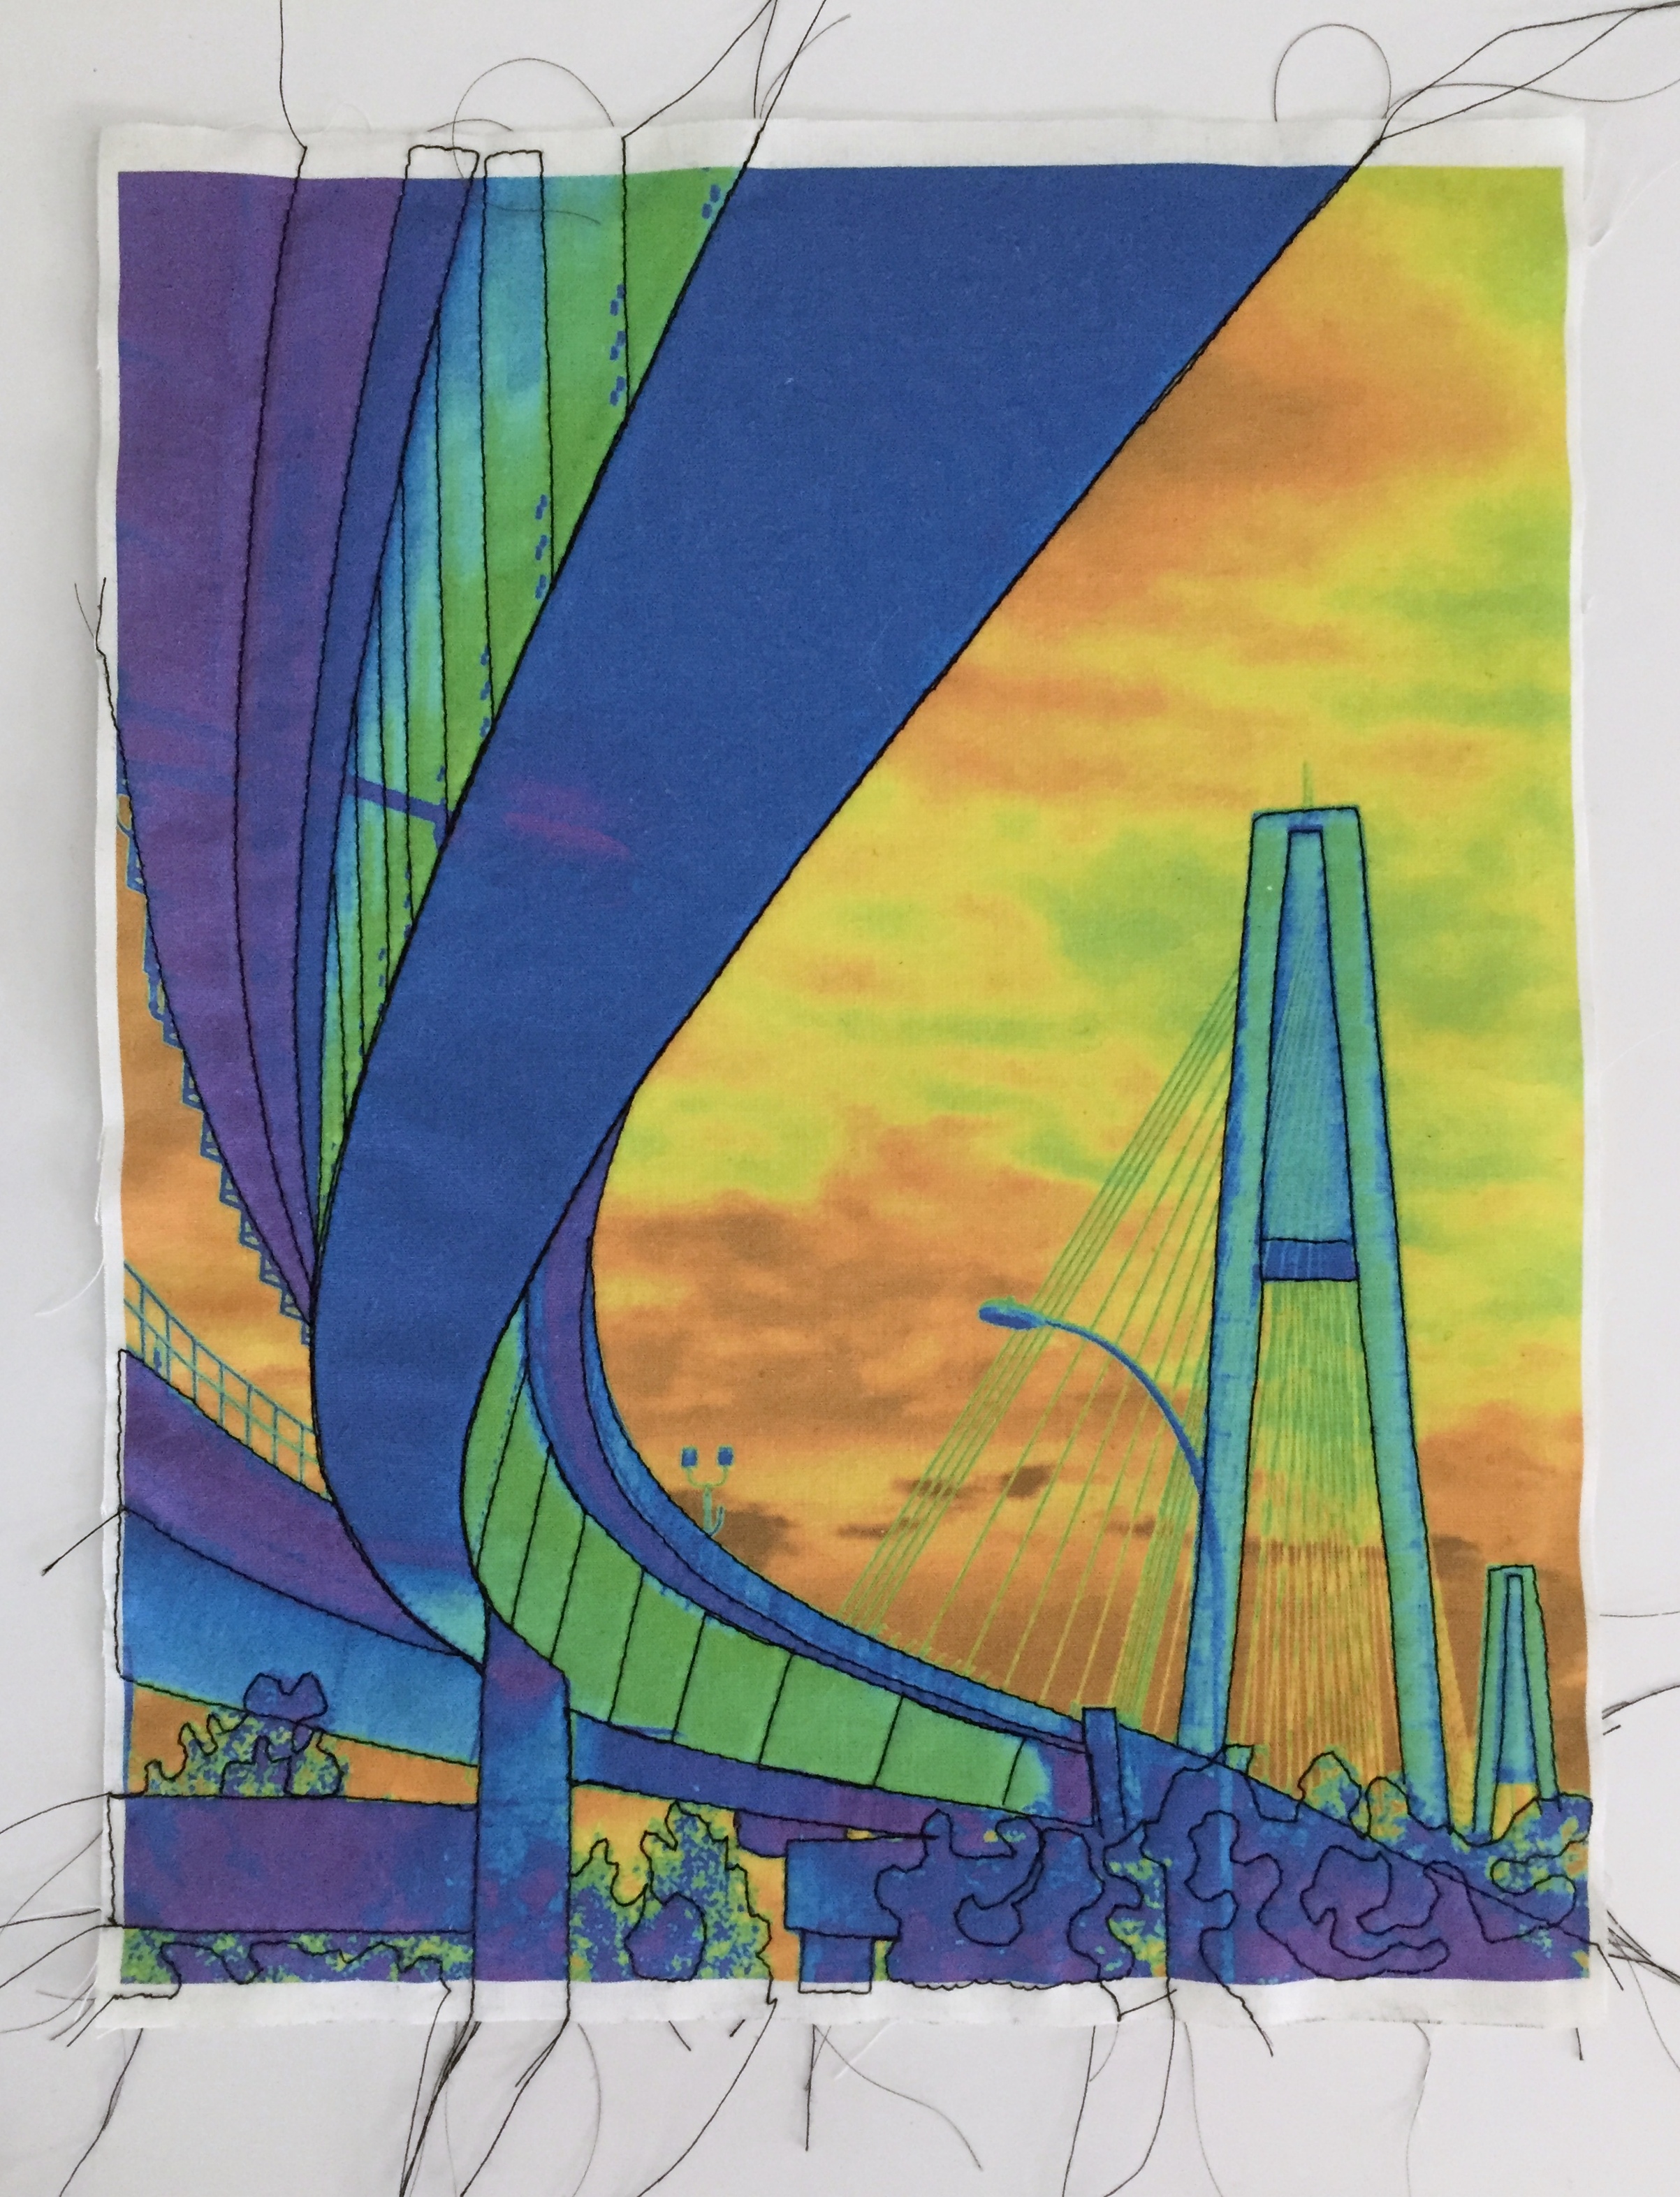
I used this method for ‘Bridge of Many Colors‘, ‘Into the Arctic Wilderness‘ and ‘W and the 3 Bridges‘. If you click on the links, you can see photos of the back of these quilts before I fused on the backing fabric. (And it just occurred to me that I used the same technique in 2014 for ‘Baby‘ because I needed different quilting on the front and on the back.)

2. Attach the hanging sleeve and label entirely by machine
It occurred to me that if I am fusing the backing fabric after all the quilting is completed, I should be able to attach the sleeve and label by machine to the backing before fusing it onto the quilt. After a little thought and experimentation, I have a technique I’m happy with. (Note: a machine-applied sleeve would be difficult to remove later. If a different size sleeve or different spacing from the top edge was required for a specific show, I would just hand-sew a temporary sleeve over this one.)
These are the steps I followed for a recently finished art quilt (not yet revealed to the public). The art quilt is 16″ wide, and requires a 2″ finished sleeve, positioned 1″ from each side edge, and 1″ from the top edge.
- I cut the backing fabric to the size of the finished quilt – 16″ x 16″ – without any seam allowance, because the facings will cover the raw edges.
- The finished size of the sleeve is 14″ long by 2” high, so I cut the sleeve fabric to 15″ x 5.25”.
- Turn ends in ¼” and then ¼” again. Sew close to folded edges.
- Press sleeve lengthwise, so one section is ½” deeper than the other.
- Position the sleeve on the back so it is ¾” from the top edge, and 1” from the side edges (photo 1).
- Stitch around the top section as shown in red in photo 2
- Fold the bottom edge up to meet the top edge as in photo 3 (there will be a gap to accommodate a hanging rod)
- Sew the top edges through all 3 layers as shown in red in photo 4.
- The sleeve should look like photo 5. I like my sleeves to be a bit deeper than required, so made it 2 ¼” rather than the required 2”
- The top facing will cover the top ¼’ of the sleeve. The side facings will butt up to the side edges of the sleeve.
- At this point, you could also machine stitch the label in place.


3. Fuse the edges of the facings to the back of the quilt
I’ve also started fusing the edges of the facings to the back of the quilt, instead of hand-sewing them. (See the post about ‘W and the 3 Bridges‘ for photos of how I do this). This is much easier than hand-sewing through a fused backing fabric, and is much quicker.
So there you have it, my three techniques to speed up the finishing process. I hope that all makes sense. If not, please post a comment and I’ll do my best to answer any questions.
Thanks for stopping by. Today, I’m linking up with these blogs – click on the links below, where you’ll find many other creative and inspirational projects.


Terry, you’re awesome! I have three projects that need to be bind and finished, this was on time. I can’t do anything until after the holidays.
Enjoy your holiday!
Barb
Thank you for sharing. I have a piece on the design wall that is quilted through just two layers. I will try fusing on the batting…and then who knows… perhaps I will try fusing the facings too!
I, too, don’t like labels and hanging sleeves – ugh. I like your idea of fusing the backing and attaching those parts before fusing. Terrific tips for art quilts – thank you for sharing them on Midweek Makers 100 this week!
Well I’m not writing because it did not make sense Terry LOL what a great blog, so much in one lesson and all such great time savers thanks a million for taking the time to share with us. I can learn some thing every day from your blog LOL I have a wee Christmas Tree quilt coming up that will need quilting and I will do it by machine as I’m learning putting the backing on after will cover all MY mistakes LOL Cheers Glenda